Let’s go through the items in the Welcome menu on the
right:
Welcome – this is just a sample page, ignore it, you will
really do all the editing in the next tab
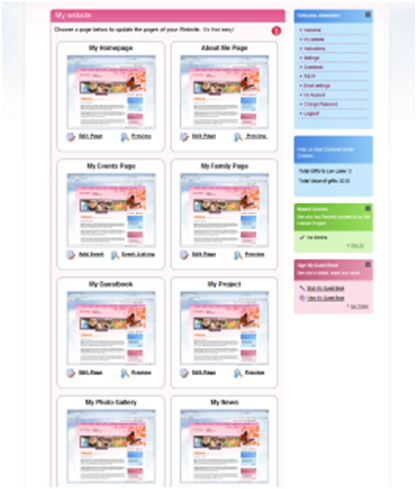
My website – depending on what you chose in your
settings, here you will find all the pages of your website, you can choose
which pages you want on your site and customize them as you wish.
When you click Add Page or Edit Page you will
be brought into an editing menu that is similar for all the pages. I will go over this now.
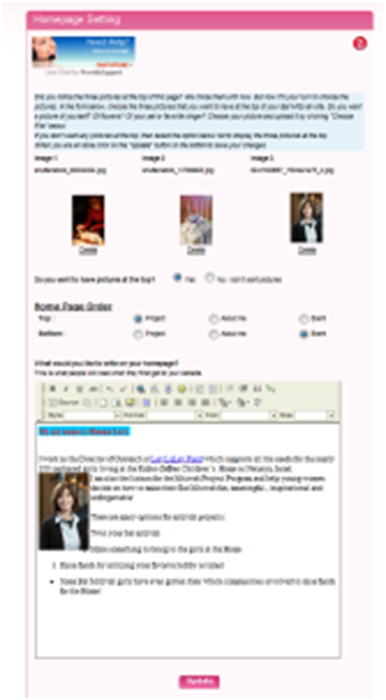
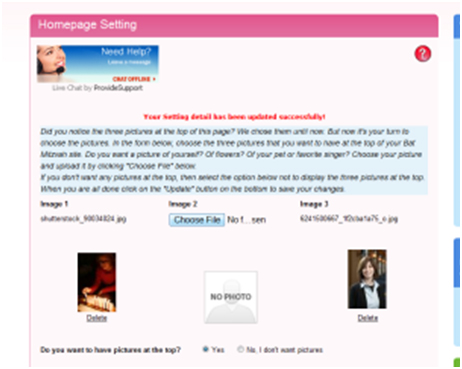
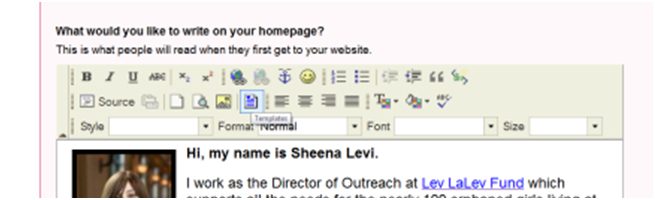
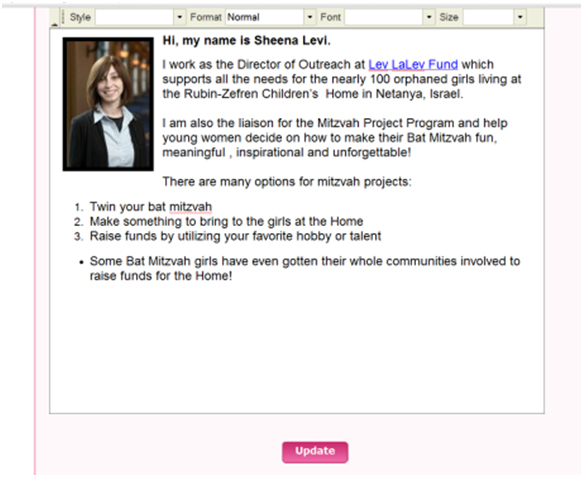
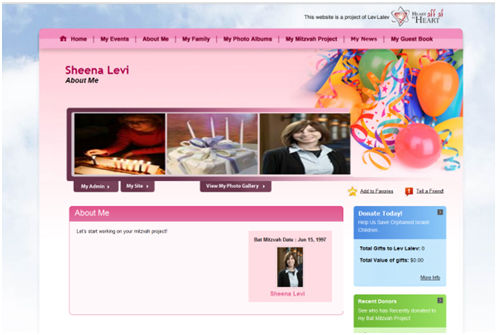
My Homepage- I have some text and pictures loaded in
already. You can easily change the pictures, or choose to not have any
pictures.
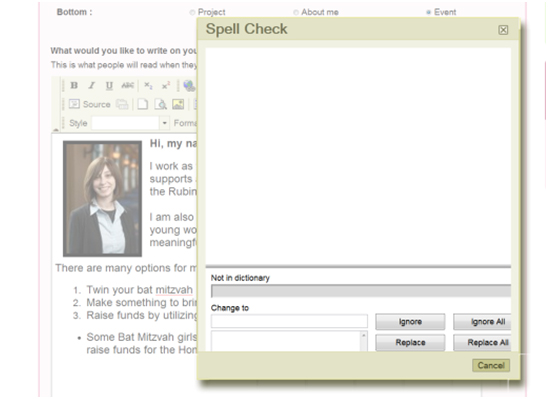
Now let’s edit the text, you can just type it in
directly, or copy or paste in from a word document (which is a good practice
because of spell check and so you have the text saved in another document) but
there is a spell check in the form box as well.
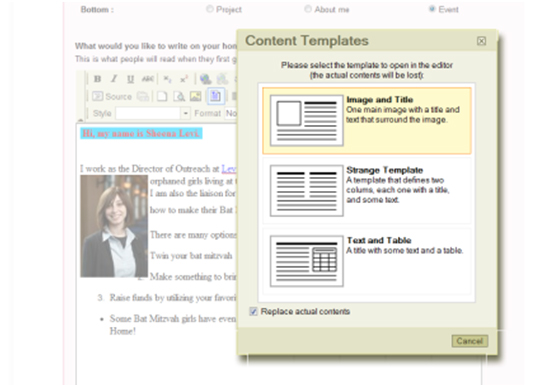
You may also choose to select a template to more
easily develop the structure of your content.
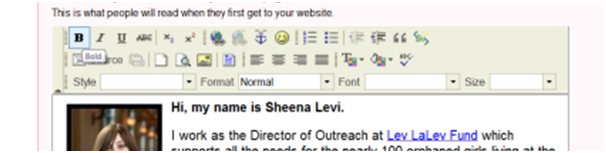
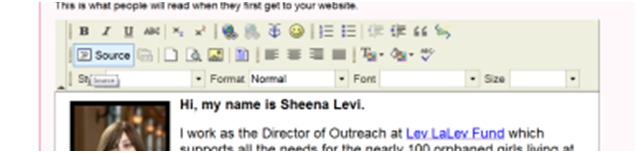
Whichever way you choose, you can always make your text bold,
italic, underline,
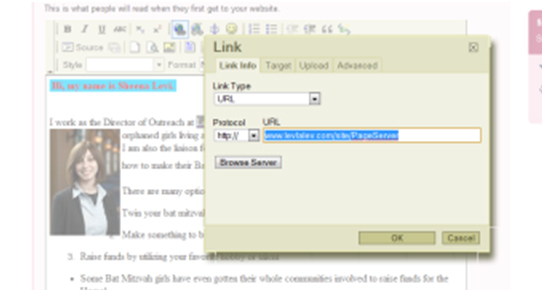
add a link, as
I’ve done with Lev LaLev word,
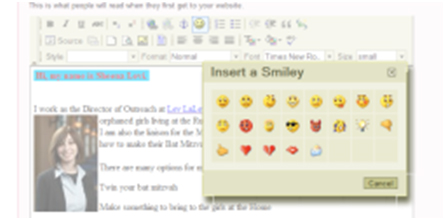
add a smiley,
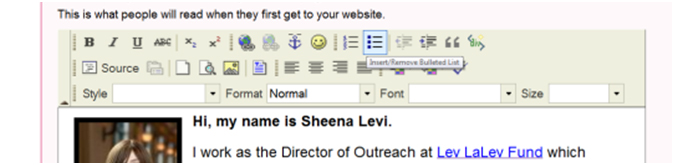
and even make a numbered or bulleted list.
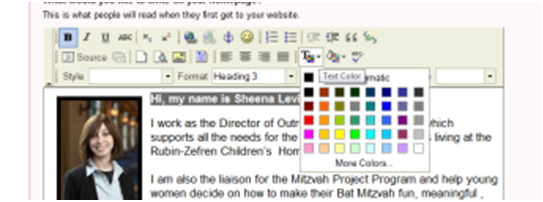
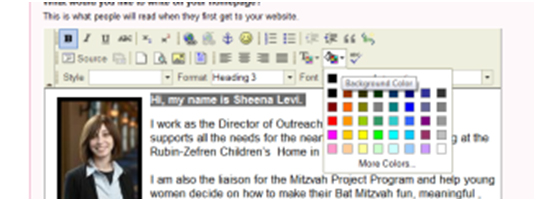
You can also edit the text and text background colors.
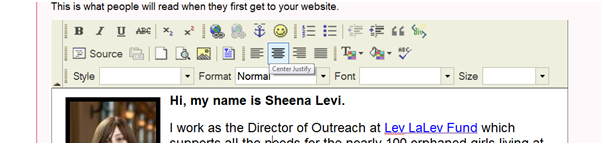
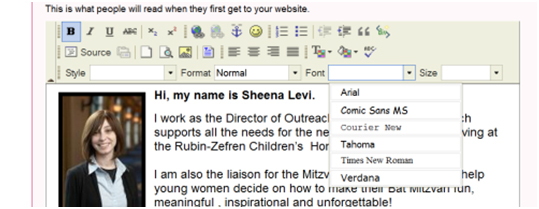
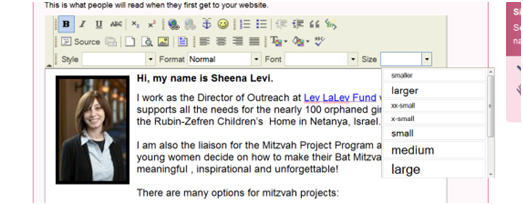
You can also make your text center, left, right,
justified,
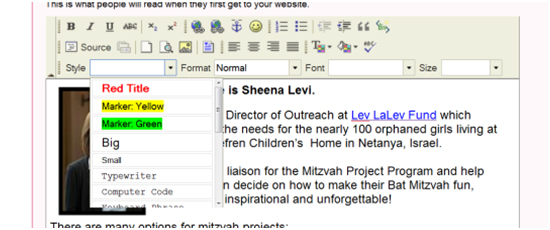
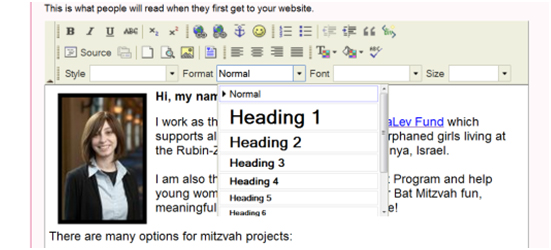
and change the style,format, font, and size.
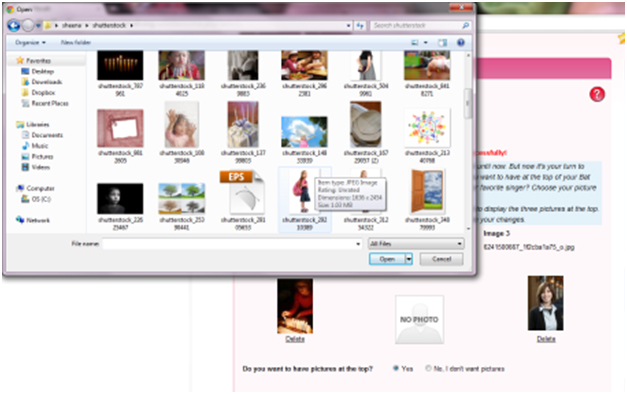
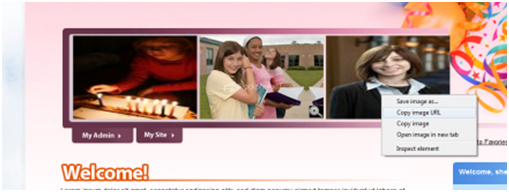
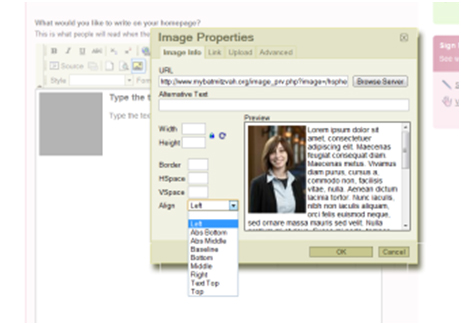
To insert an image into your text you will need it’s
URL. If you have already loaded pictures to your homepage banner, or loaded in
some photo albums, or even from an external online album of yours, you can right
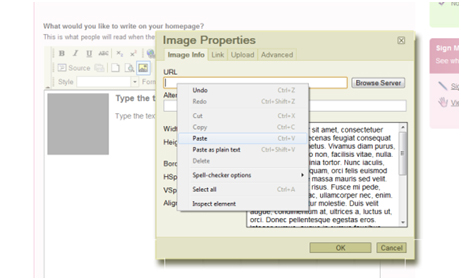
click on your mouse to copy the image’s url to paste into the insert image.
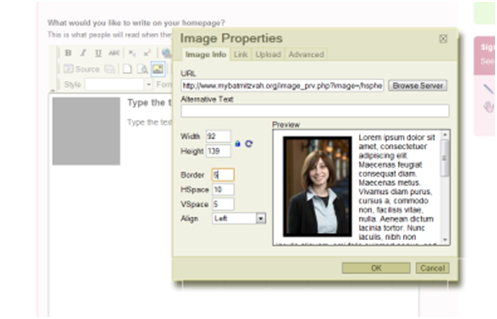
Add a picture here from any link and set where in the text
you want the image as well as its size in pixels or even a border if you want.
If you know html, you can click on source and edit
from there,
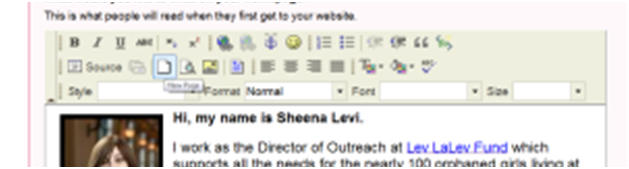
WARNING: don’t click on new
page unless you want to start all over, you will
lose all your previous edits if you click on this.
When you are done editing your page, don’t forget to click Update.
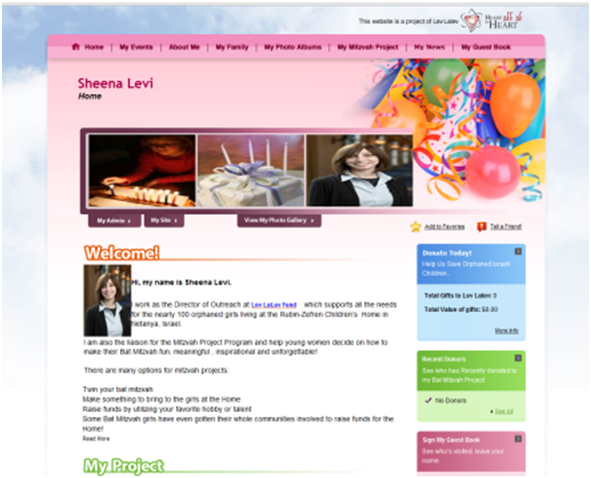
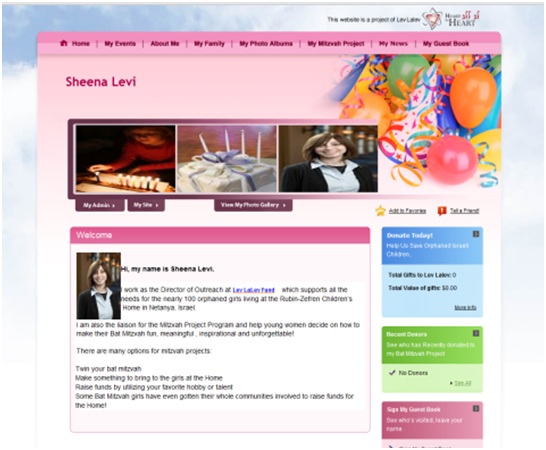
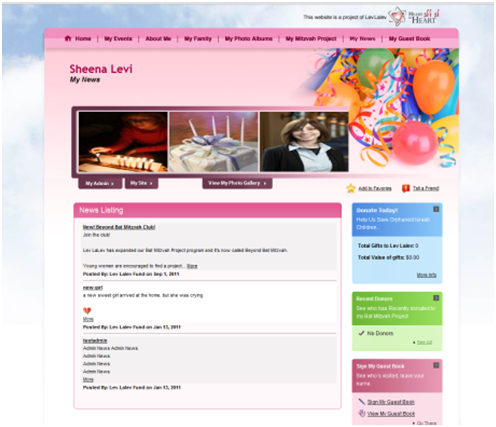
While you can preview the text from the edit menu as well, you
can also click on the My Site tab to see how it looks to you viewers. If
you write a lot, the viewer will get a ‘read more’ option, so it may be a
good idea to keep your text concise.
As I mentioned, editing all the webpage’s are based around
the above, with just some minor differences on the pages below:
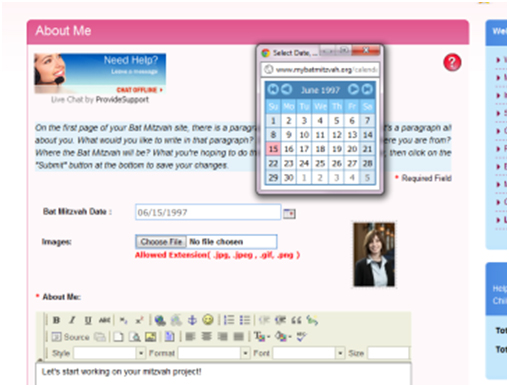
About me – here is where you will be asked to include
your bat mitzvah date
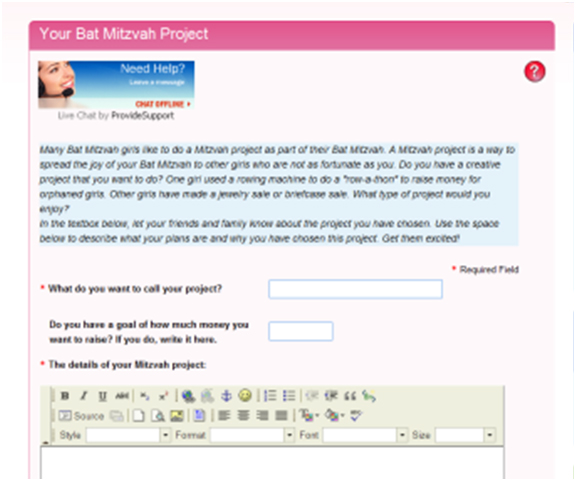
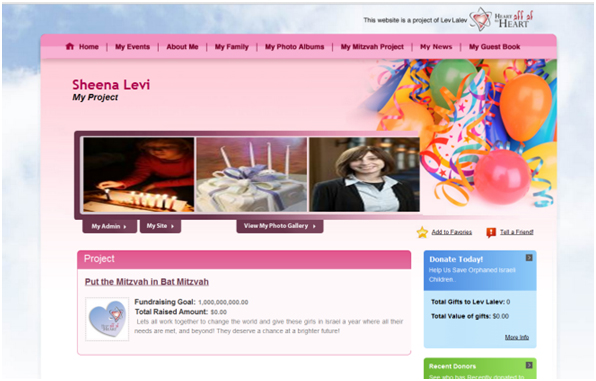
My Project – here is where you set your fundraising goal;
it is also a good place to link to your donation page. I will show you how to
find that link in step five. In the meantime, here is mine for example: https://www.mybatmitzvah.org/sheenalevi/donate/
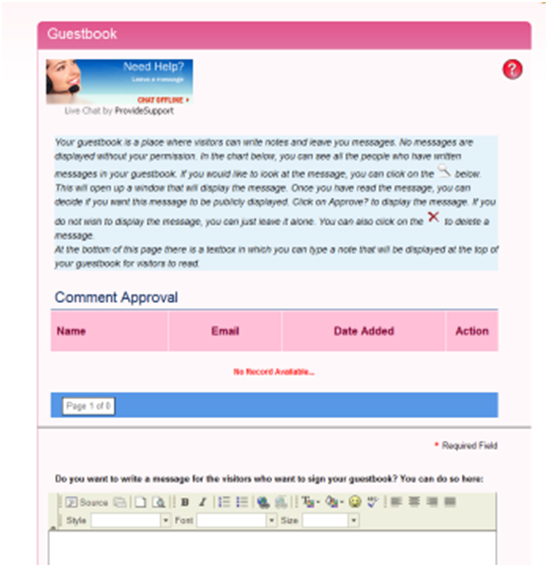
My Guestbook – If you want to
write a custom message for your visitors who sign your guestbook, you can do so
here.
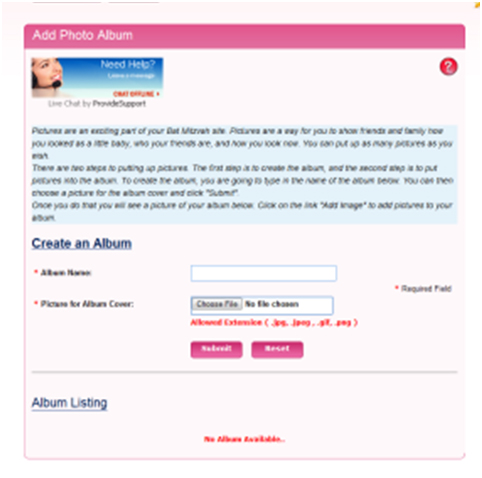
My Photo Gallery- upload pictures of your life,
family, hobbies, event, project, all in separate albums if you want, and share
them with your users!
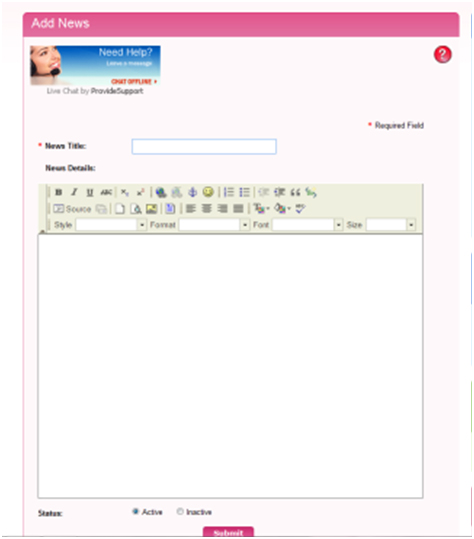
My News- this can be like your blog where you can
update your visitors with what’s happening in your life, with your bat mitzvah
and how your fundraising efforts are making an impact.
As long as you are logged in, you always get back with My
Admin tab, and back to My website to continue making edits, all the
pages will have a similar look to what we just saw except the My Events
page so let check that one out.
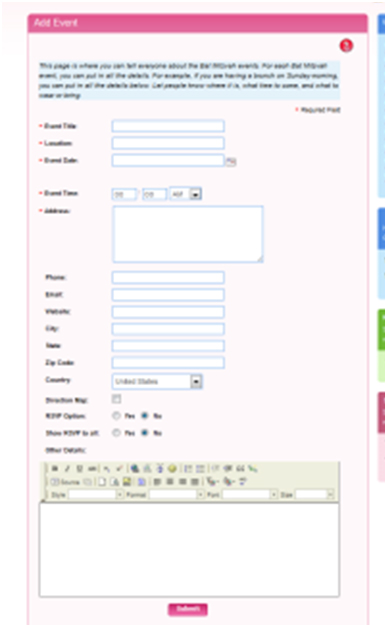
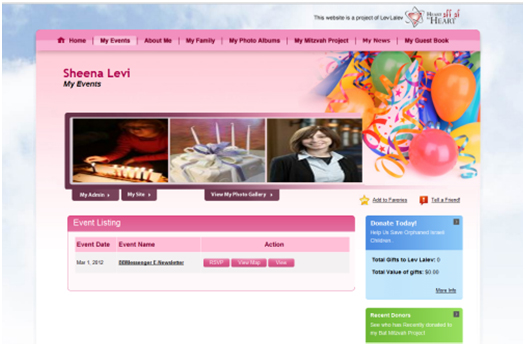
My Events- You can use this page to put in the
details of your actual bat mitzvah and manage rsvps. You can also use it for a
fundraiser event you may be doing for your mitzvah project.
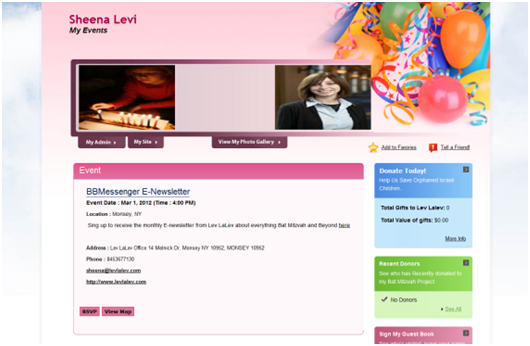
For my example I put in the event of our monthly
e-newsletter. You can place a direction
map to the location and customize rsvp options, click submit, you can
always edit it later or add another event.
Your events can be seen if you go to the My Site tab and
click My Events in the top navigation. Send that link to your friends to
rsvp once you have completed step four….